
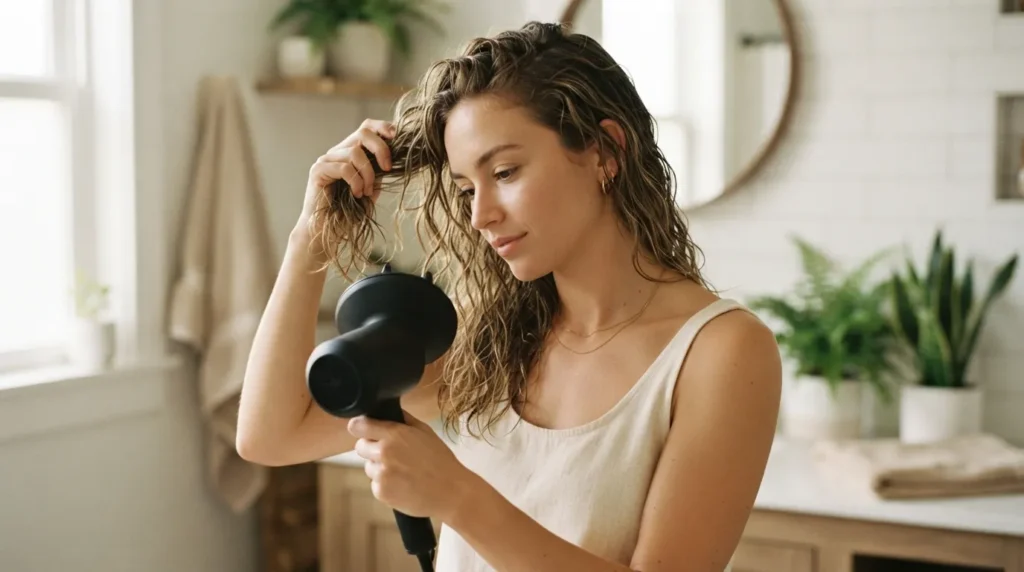
How to Blow Dry 2C Hair Without Frizz
2C hair sits at the edge of wavy and curly — loose S-bends that are easy to weigh down and just as easy to frizz out. Learning how to blow dry 2C hair correctly is the difference between waves that look intentional and hair that looks like it fought a humid subway platform and lost. The good news: with the right prep, a diffuser, and a few technique adjustments, blow drying can actually give you more definition and more root volume than air drying alone.
This guide walks through exactly how to dry 2C wavy hair step by step, the products worth buying, the mistakes that cause frizz in the first place, and when air drying is the smarter call instead.
What Is 2C Hair?
2C is the loosest wave pattern on the curl chart, sitting just past 2B. It forms visible S-shaped waves from about ear-level down, but the roots are usually straighter and flatter. Compared to curlier types (3A and up), 2C hair has less natural curl clumping, which means it’s more prone to frizz and more likely to fall flat under heavy products.
Because the wave pattern is looser, 2C hair also dries faster than curly hair — which is exactly why blow drying technique matters so much. Too much heat or airflow too early, and the waves get blown straight before they’ve had a chance to set.
Can You Blow Dry 2C Hair?
Yes — and for many people with 2C waves, blow drying with a diffuser produces better results than air drying. Air drying alone often leaves 2C hair looking limp at the root and stringy at the ends, since the wave pattern isn’t strong enough to hold its own shape while wet.
A diffuser attachment slows and spreads the airflow, which sets the wave pattern in place without blasting it straight the way a regular nozzle would. The key is controlling heat, airflow, and timing — not avoiding the blow dryer altogether.
Benefits of Blow Drying 2C Hair
Blow drying with a diffuser solves several problems that air drying can’t:
- Root volume. Diffusing upside down or at the root lifts hair away from the scalp instead of letting it dry flat.
- Faster styling. 2C hair can take 1–3 hours to air dry fully; diffusing cuts that down significantly.
- Better curl and wave definition. Warm airflow helps “cast” the styling product, locking waves into shape before they can frizz.
- More consistent results. Air drying time varies with humidity and hair porosity, so results are less predictable than a controlled diffuse.
Worked example: Someone with fine, low-porosity 2C hair who air dries every wash day often ends up with flat roots by midday and frizzy ends. Switching to a 10-minute diffuse at the roots — even without fully drying the ends — usually fixes both issues at once.
Understanding Hair Porosity (Why It Changes Your Routine)
Hair porosity — how easily hair absorbs and holds moisture — changes how 2C hair should be dried.
- Low porosity hair has a tighter cuticle and resists moisture, so it needs lighter products and can handle slightly more heat without drying out.
- High porosity hair absorbs moisture fast but loses it just as fast, so it needs richer leave-ins and lower heat to avoid frizz and damage.🔗 https://www.ncbi.nlm.nih.gov/pmc/articles/PMC4387693/
If you’re not sure which you have, drop a clean strand of hair in a glass of water. Hair that floats for a while is usually low porosity; hair that sinks quickly is usually high porosity. This one detail changes which products and settings actually work for your hair.
What You Need Before Blow Drying 2C Hair
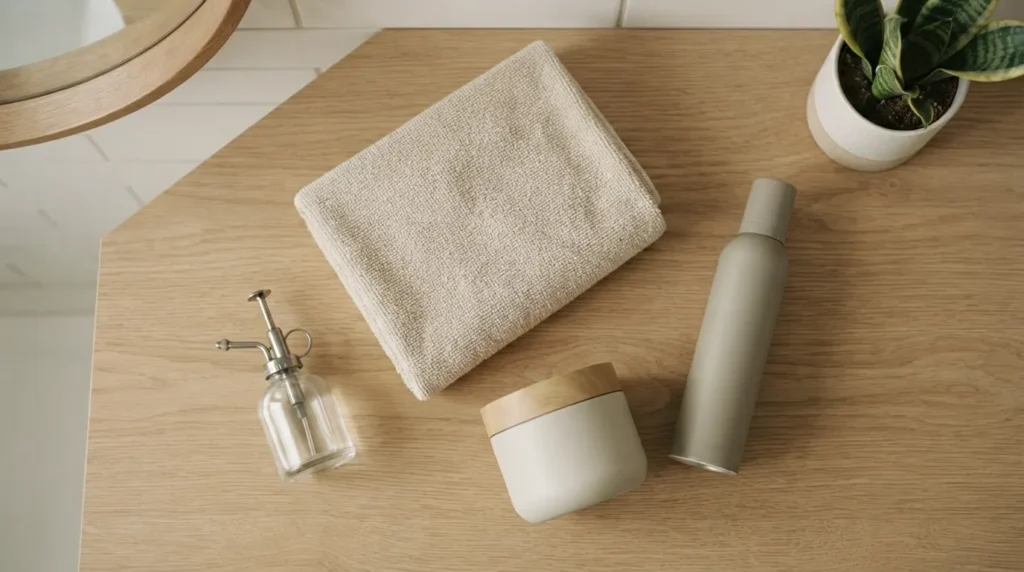
Getting frizz-free waves starts before the dryer ever turns on. Here’s what to have ready:
Microfiber Towel or Cotton T-Shirt
Regular bath towels rough up the hair cuticle and create frizz. A microfiber towel or an old cotton t-shirt absorbs excess water more gently, which is the first step in plopping — wrapping damp hair up to encourage natural wave clumping.
Heat Protectant
Even low heat settings can cause cumulative heat damage over time. A lightweight heat protectant spray shields the hair shaft and helps prevent moisture loss during drying.
Leave-In Conditioner
Leave-in conditioner adds hydration back into hair that’s naturally prone to dryness and frizz, especially for higher-porosity or color-treated hair. Apply it to soaking-wet hair for the best absorption.
Curl Cream or Mousse
This is where wave and curl definition actually comes from. Curl cream adds moisture and hold; mousse adds lift and a lighter hold. Many 2C routines use both — cream first, mousse on top — to balance definition with root volume.
Diffuser Attachment
A diffuser attachment is non-negotiable for this method. It slows airflow and disperses heat over a wider area, which prevents the wave pattern from blowing straight the way a standard nozzle would.🔗 https://www.aad.org/public/everyday-care/hair-scalp-care/hair/habits-that-damage-hair
Quick Reference: What Each Product Does
| Product | Purpose | Apply To |
|---|---|---|
| Microfiber towel / t-shirt | Removes excess water gently | Freshly washed hair |
| Heat protectant | Shields hair from dryer heat | Damp hair, before styling products |
| Leave-in conditioner | Adds hydration, reduces frizz | Soaking-wet hair |
| Curl cream | Defines waves, adds moisture | Damp hair, after leave-in |
| Mousse | Adds hold and root lift | Damp hair, on top of cream |
| Diffuser attachment | Sets wave pattern, boosts volume | Attached to dryer for drying step |
How to Blow Dry 2C Hair Step by Step
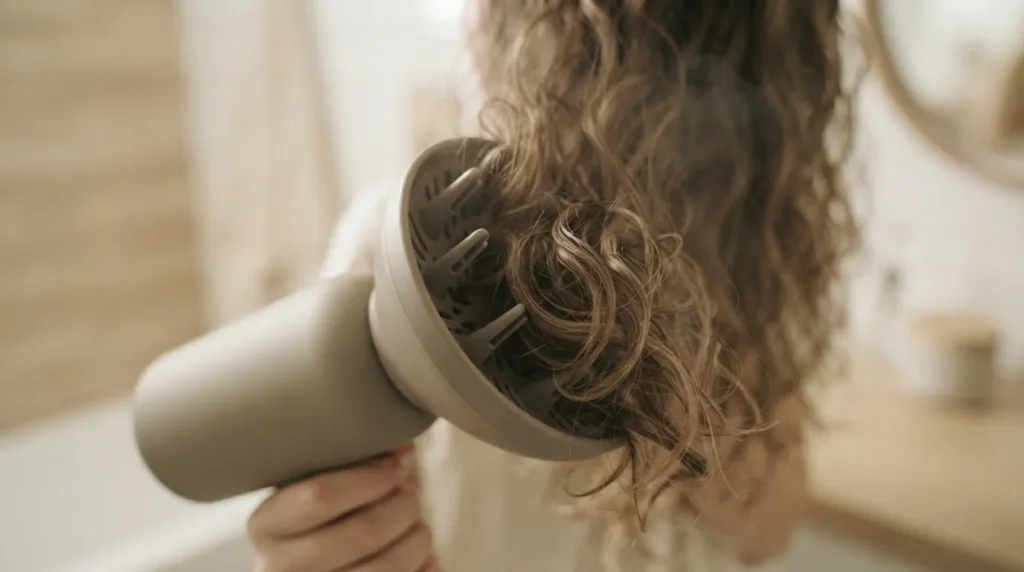
This is the core method for blow drying wavy hair without frizz, whether you’re doing it yourself or explaining the process to a client.
Step 1 — Prep With Plopping or a Microfiber Towel
Right after washing and conditioning, gently blot hair with a microfiber towel or scrunch it upward into a cotton t-shirt for 5–10 minutes. This removes excess water and encourages waves to start clumping together before any product goes on.
Step 2 — Apply Product to Damp Hair
While hair is still noticeably wet — not dripping, not dry — apply heat protectant, then leave-in conditioner, then curl cream, scrunching upward as you go. Finish with a small amount of mousse for extra hold and volume at the root.
Step 3 — Attach the Diffuser and Set Low Heat, Low Airflow
Attach the diffuser, and set the blow dryer to low heat and low airflow. High heat or high airflow at this stage is the single biggest cause of frizz — it disrupts the wave pattern before the styling products have set.
Step 4 — Dry to 80–90%, Scrunching as You Go
Cup sections of hair in the diffuser bowl and gently scrunch upward toward the scalp, holding for a few seconds per section. Work in sections from the ends up toward the roots. Stop once hair is about 80–90% dry — this is the point where the “cast” (a slightly crunchy, dry-to-the-touch layer) has formed but hair isn’t fully dry yet.
Step 5 — Finish With a Cool Shot
Switch to the cool shot setting for the final few minutes. Cool air helps seal the hair cuticle, which locks in shine and helps the wave pattern hold longer throughout the day.
Worked example: For a typical wash-and-style session on shoulder-length 2C hair, this process takes about 15–20 minutes total — roughly 10 minutes of diffusing at low heat, 3–5 minutes of scrunch-drying section by section, and 2–3 minutes on the cool shot.
Common Blow Drying Mistakes to Avoid
Even with the right products, technique errors are what usually cause frizz:
- Touching hair too much while drying. Constant touching and re-scrunching disrupts the curl cast and causes frizz. Diffuse and leave it alone.
- Using high heat. High heat evaporates moisture too fast, leaving waves dry and frazzled instead of smooth.🔗 https://www.aad.org/styling-without-damage
- Skipping the diffuser. A standard nozzle blasts concentrated air in one direction, which straightens waves instead of setting them.
- Breaking the cast too early. Touching or scrunching hair before it’s fully dry — including the roots — breaks the product cast and reintroduces frizz. This is one of the most common mistakes in any 2C hair routine.
- Overloading with heavy products. 2C hair is fine and easily weighed down; heavy oils or butters can flatten waves instead of defining them.
- Drying in dry, hot air blasts close to the scalp. Holding the dryer too close concentrates heat and can cause localized heat damage over time.
Air Dry vs Blow Dry for 2C Hair
Both methods work — the right one depends on your hair, your schedule, and the weather.
| Factor | Air Dry | Blow Dry (Diffuser) |
|---|---|---|
| Time | 1–3 hours | 15–25 minutes |
| Root volume | Often flat | Noticeably lifted |
| Frizz control | Depends heavily on humidity | More consistent, weather-independent |
| Heat exposure | None | Low, if done correctly |
| Best for | Low-porosity hair, humid climates, rest days | Fine hair, flat roots, time-crunched mornings |
| Risk | Limp waves, longer dry time | Heat damage if settings are too high |
Worked example: In a humid climate, someone might air dry on rest days and reserve diffusing for days they need volume and definition to hold, like before work events — using both methods depending on the day rather than picking one permanently.
Best Products for Blow Drying 2C Hair
Look for lightweight, low-glycerin formulas if you live somewhere humid, since heavy glycerin-based products can pull in moisture from the air and reverse your frizz control. Prioritize:
- A lightweight, alcohol-free heat protectant spray
- A leave-in conditioner with slip, not heavy oils
- A curl cream with light-to-medium hold for definition
- A volumizing mousse for root lift without stiffness
- An anti-frizz serum (used sparingly) for a final polish after drying
For deep conditioning, a weekly treatment helps offset the drying effects of regular heat styling, especially for higher-porosity or color-treated hair.
Tips for Frizz-Free, Defined Waves
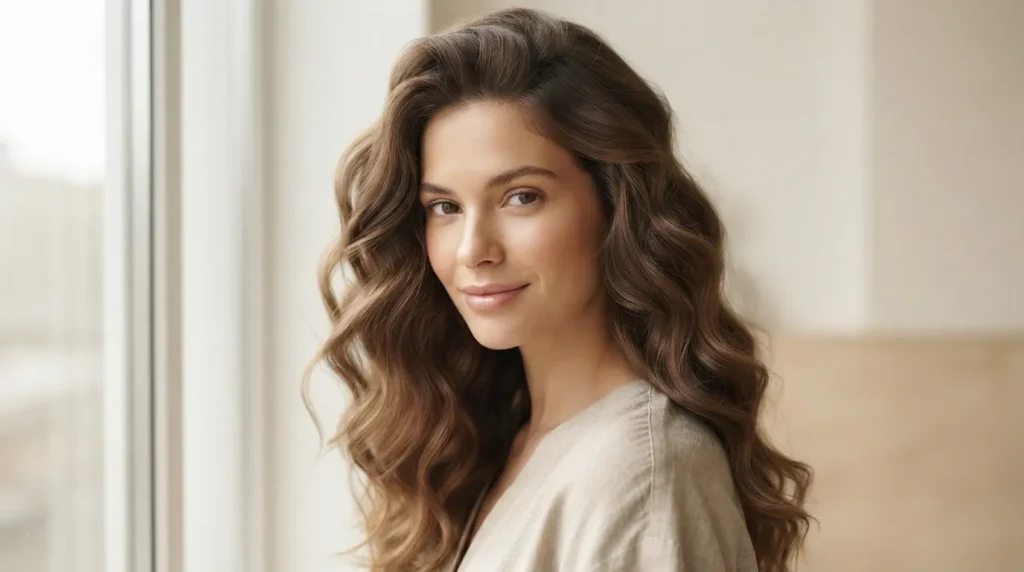
- Apply products to soaking-wet hair — dripping wet, not just damp — for maximum slip and definition.
- Use the “praying hands” method to smooth product through sections before scrunching.
- Keep the diffuser moving in small circular motions instead of holding it still in one spot.
- Sleep on a satin or silk pillowcase to protect the cast overnight.
- Refresh day-two waves with a light water-and-leave-in mix instead of a full re-wash.
- Do a monthly deep conditioning treatment to maintain shine and reduce breakage from repeated heat styling.
FAQs About Blow Drying 2C Hair
How long does it take to blow dry 2C hair with a diffuser?
Most people need 15–25 minutes total, depending on hair length and thickness.
What heat setting should I use for 2C hair?
Low heat and low-to-medium airflow. High heat is the most common cause of frizz during diffusing.
Do I need a diffuser attachment, or can I use a regular nozzle?
A diffuser is strongly recommended. A regular nozzle concentrates airflow and tends to blow the wave pattern straight.
Can blow drying damage 2C hair?
Only if heat is too high or the dryer is held too close for extended periods. Low heat with a heat protectant is generally considered safe for regular use.
Should I scrunch while drying or after?
Both — scrunch product in while hair is wet, then scrunch gently again while diffusing to reinforce the wave pattern.
Why does my hair frizz even after diffusing?
Usually one of three causes: too much heat, touching hair before the cast is fully dry, or product that’s too heavy or too light for your porosity.
Is air drying better than blow drying for 2C hair?
Neither is universally better — air drying avoids heat but often leaves 2C hair flat, while diffusing adds volume and speed at the cost of some heat exposure.
Final Thoughts
Blow drying 2C hair isn’t about brute-forcing dry hair fast — it’s about controlling heat, airflow, and timing so the wave pattern sets instead of frizzing. Get the prep right, diffuse on low, and leave the cast alone until it’s fully dry, and blow drying becomes the fastest way to consistent, defined waves.
REad NEXt.
Pingback: 2C Hair Care: Complete Wavy Hair Routine Guide